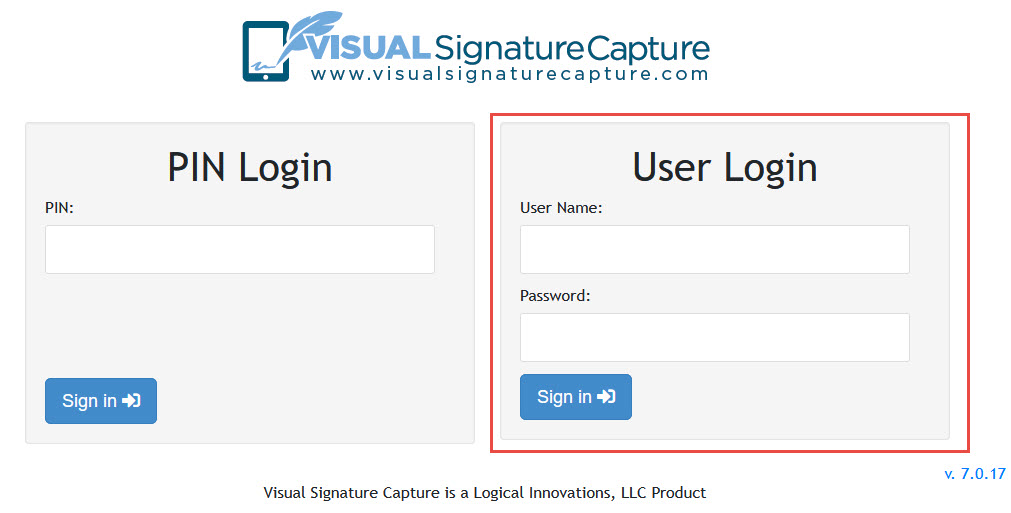
Signing in to Visual Signature Capture
Users sign in to Visual Signature Capture in one of 5 different possible roles:
Application Administrator,
Site Administrator, Super user, Staff, or Patient.
The superuser and Staff logins use the EMR user accounts and passwords to login if the VSC authentication type is set to EMR. If the EMR product is set to use Active Directory authentication and VSC is set to EMR, when a user changes their password, they may need to log into the EMR first before the new password will work in VSC.
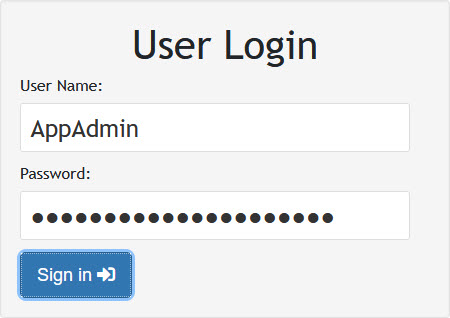
Application Administrator
The Application Administrator is responsible for adding/removing/editing customers,
creating and editing database connections, and upgrading databases. If you are the
Application Administrator for your Visual Signature Capture software, you will need
your Application Administrator User Name and Password to sign in. If you don't know your
Application Administrator User Name and Password, contact your organization's IT department.
- From the Visual Signature Capture opening screen, you will see the User Login.
- Enter User Name and Password (case sensitive). Then press the return key
or click the Sign In button.
- You will be taken to the Application Administrator home page from which you can
manage your tasks.
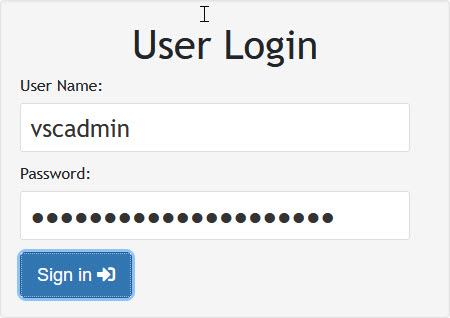
Site Administrator
The Site Administrator is responsible for a variety of tasks including managing document
templates, managing rules, setting up security for site administrators or devices, site
configuration, and licensing. Site Administrators can also create new Site Administrators.
If you are the Site Administrator for your Visual Signature Capture software, you will
need your login name and password to sign in. The initial default login name is VSCAdmin.
If you don't know your Site Administrator password, contact your IT department.
- From the Visual Signature Capture opening screen, you will see the User Login.
- Enter User Name and Password (case sensitive). Then press the return key
or click the Sign In button.
- You will be taken to the Site Administrator home page from which you can
manage your tasks.
Superusers
Super users have the same rights as Site Administrators and Staff members. They have access to all tabs available in the program. Super users sign in with their EMR credentials.
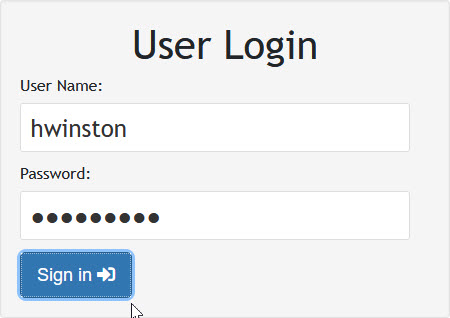
Staff
Staff members have the ability to add patients to Visual Signature Capture,
add documents for patients to sign, reconcile signed documents that have demographic changes, and view documents signed by patients in the past 24 hours. Staff
members sign in to Visual Signature Capture using their EMR user ID and password.
- From the Visual Signature Capture opening screen, you will see the User Login.
- Enter the EMR user ID as the User Name and password (case sensitive).
Then press the return key or click the Sign In button.
- You will be taken to your Staff homepage from which you can manage your tasks.
Patient
Patients can sign in to review and sign documents. There are two different ways
for a patient to sign in: they can be signed in by a staff member or they can sign in with a PIN.
- Staff member signs patient in; for use when the staff member is using the same
device as the patient.
- A patient that has been added (see adding patients section) and has documents
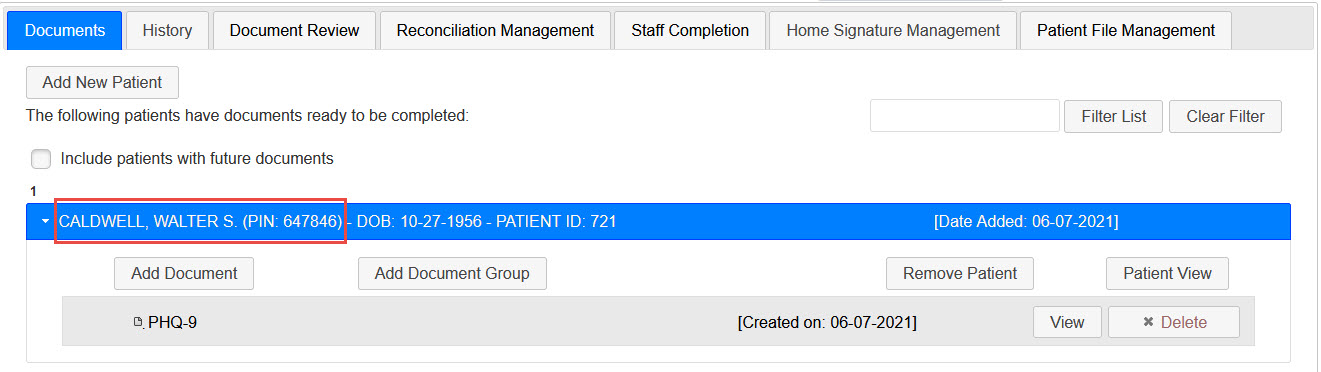
to sign (see adding documents section) will be visible in the staff member's Documents
tab. In the screenshot below, patient Walter S. Caldwell has a PHQ-9 screening to complete.
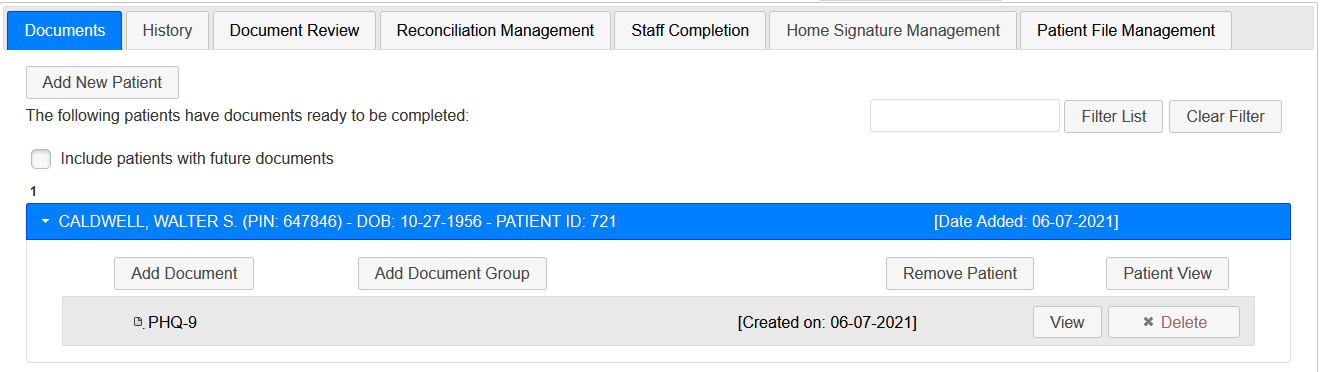
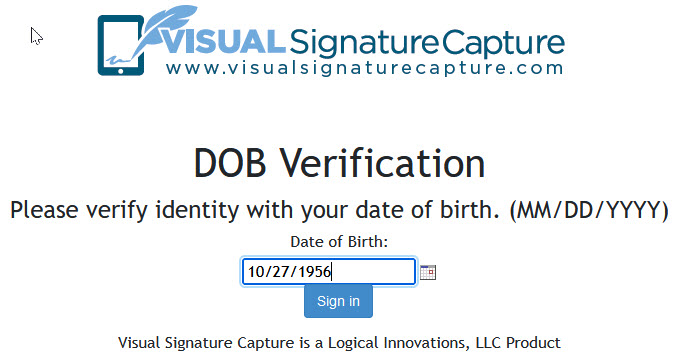
- The staff member can click on the Patient View button (circled in the screen shot above). If, in System Management Settings, the SYSTEM_REQUIRE_DOB_VERIFICATION is set
to TRUE, the patient will need to enter his/her Date of Birth as a secondary
Verification.
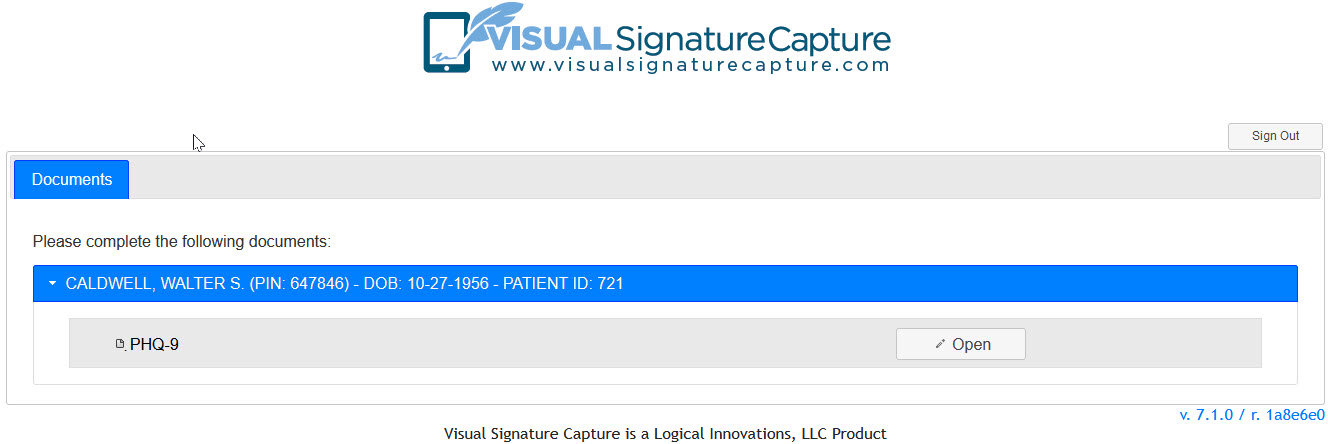
- Visual Signature Capture will open to the Patient's page where the patient can review and sign the documents (screenshot below).
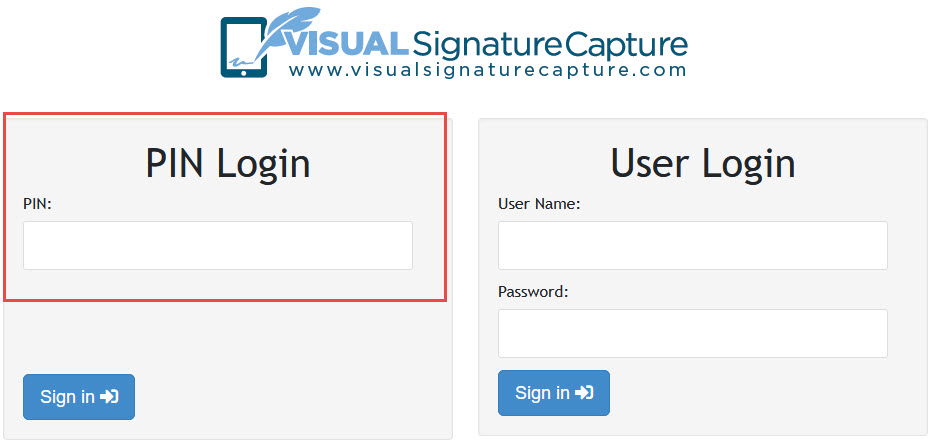
- Patient signs in with PIN; for use when the staff member and patient are using
different devices
- The staff member makes a note of the PIN associated with the patient (see screenshot
below). This PIN is a random 6 digit number that is generated when the patient is
added to the Documents tab.
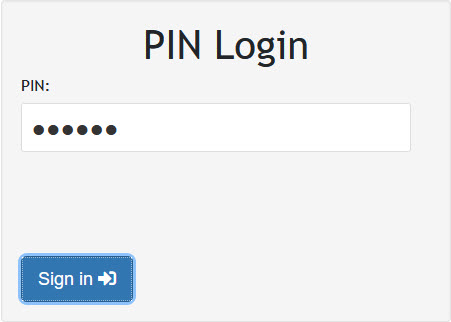
- The patient is given the PIN and from the Visual Signature Capture main screen
the patient chooses Pin Sign In (screenshot below).
- The patient enters their PIN and hits the return key or clicks the Sign In
button (screenshot below).
- If, in System Management Settings, the SYSTEM_REQUIRE_DOB_VERIFICATION is set
to TRUE, the patient will need to enter his/her Date of Birth as a secondary
Verification.
- The patient is taken to their page where they can fill out and sign documents
(screenshot below). Note that once a patient completes all of their documents and
signs out the PIN expires. If a patient is added to the Documents tab and given new
documents to sign in the future, a new PIN will be generated.